
 | |
|
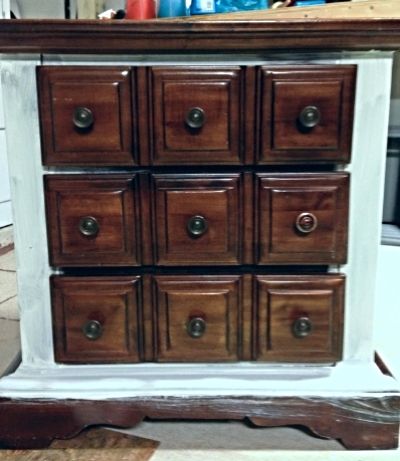
OK, I forgot to take a before picture but luckily I caught myself just as I started the first coat of paint.
Step 1. I covered everything in Pure White by Annie Sloan. Originally, I wanted to leave the color of the wood for the top of the nightstand, but after some time I decided against it.


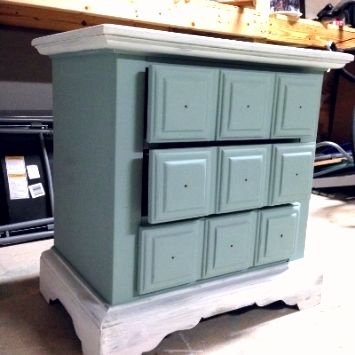
Step 2. Next I applied my second coat of paint using an alternate color. I used my absolute favorite.. Duck Egg Blue! I left the top and bottom white and brushed a very small amount of blue overtop to make sure it blended well together.
Step 3. Using a low grit sanding sponge (pictured below) I started to sand around the edges of the nightstand. I've found that using a sanding sponge helps create a more natural distressed look.
This next step is totally optional. I used a cheap kitchen sponge (pictured below) and cut it in half. I dipped the sponge into water and lightly ran it across the top of each drawer. Do NOT press down hard. The water will immediately take away the top coat of paint, revealing the white coat underneath. Pat the area dry using a clean rag.This is called a "washed look".
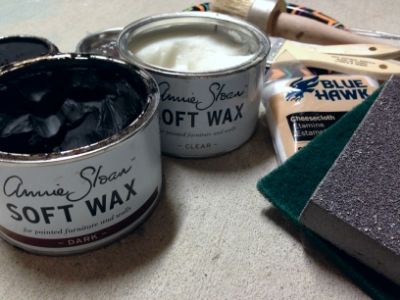
Step 4. Last but not least, I covered the entire nightstand in a light coat of Annie Sloan's clear wax. When waxing, I recommend doing small sections at a time, using cheesecloth to lightly buff until it no longer feels tacky.
Next, I coated the drawers and the edges in a dark wax. I always use a clear wax before my dark wax because I like the way it lightens everything back up. Again, apply this in small sections, using the cheesecloth to buff away anything that feels tacky.
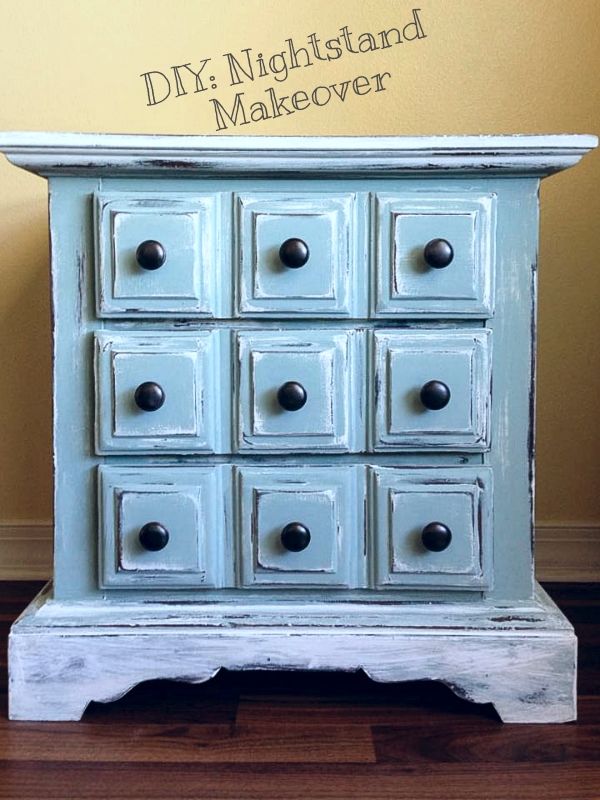
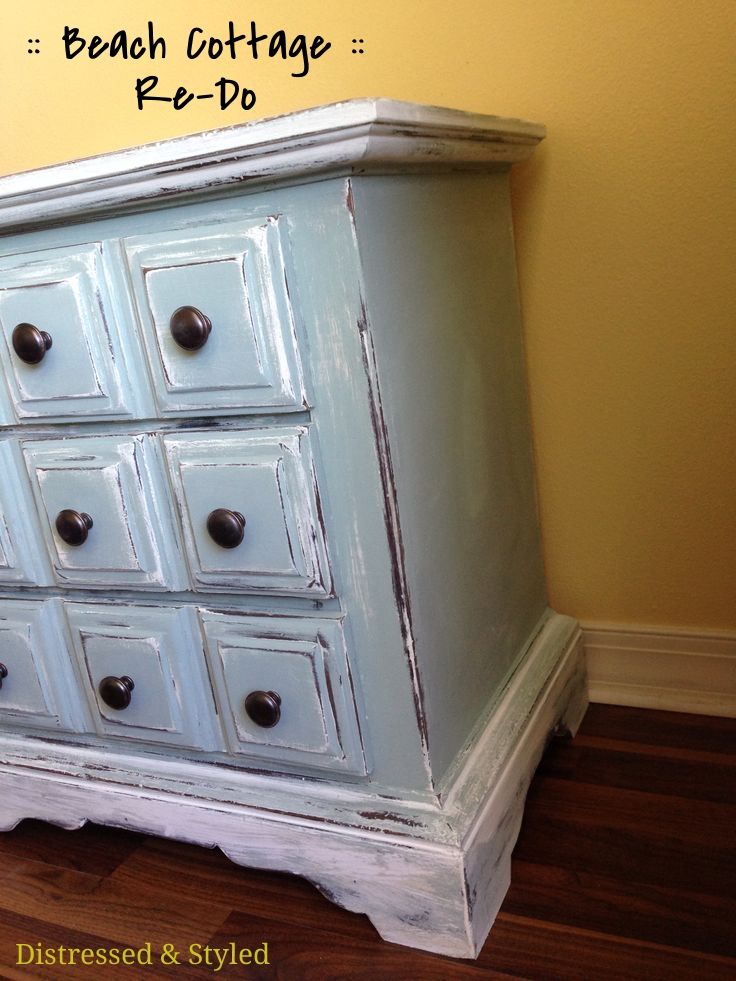
I added some new hardware to finish off the look and here you go....
Distressed Style
DIY: Nightstand

No comments:
Post a Comment