

This dresser was a lot of work but I could not be more excited about the way it came out. I absolutely LOVE when something comes out the way I imagined! Here's HOW TO DIY for those of you who are looking to refinish something of your own....
 | |||
| :: Before Picture :: |
I wanted to reuse the original hardware so the first thing I did was remove the hardware and place it in (labeled) plastic baggies. If you're not sure what you want to do, I recommend keeping the old hardware until after you've finished and then decide what you want to do.
After removing the hardware I covered the entire dresser in Old White Chalk Paint by Annie Sloan. This dresser took about two coats of paint, which is a lot when using Chalk Paint. This paint dries pretty quick, so there's not a lot of waiting time in-between coats. If you're impatient like me, that's the best part about this paint!


After the paint has dried, take a fine sanding sponge and lightly sand over the edges of the dresser. I do not recommend using sandpaper or a sander around the edges. However, a hand sander might be nice for the flat surfaces.
I always like to finish my dresser with a light coat of clear wax and an even lighter coat of dark wax. The clear wax helps to seal the paint, and the dark wax helps give it that aged & distressed look. This process can be a little tricky. If you're interested in trying it out, I recommend practicing on some scrap pieces of wood first. One of these days I'll get around to posting a tutorial and show you how I use the wax.

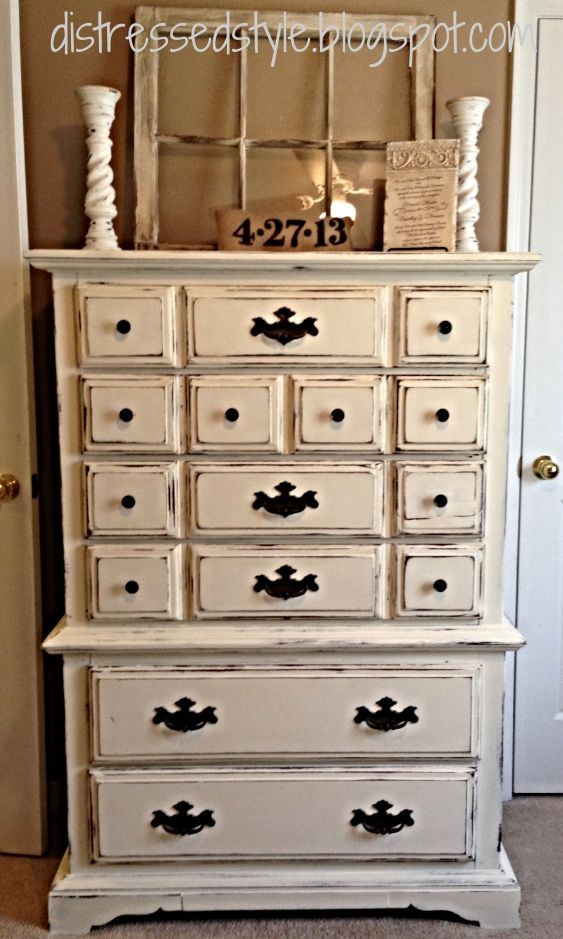
This looks amazinnnnggg!!!! Loving the decoration on top as well :)
ReplyDeleteDid you have to sand the dresser before you painted with the chalk paint?
ReplyDeleteNo, you do not.
Delete